
I found this idea on Pinterest one day, and here I am, some time later, finally getting around to it!
SUPPLIES: (for this particular sized project)
31" by 50" lamented map (mine was much bigger and now I'm missing Hawaii and part of New Zealand. Probably something else, too.) I got mine for $10.00 at Hobby Lobby.
canvases - ten 8x10's and two 16x20's I got mine for $40.00 total off of Amazon.
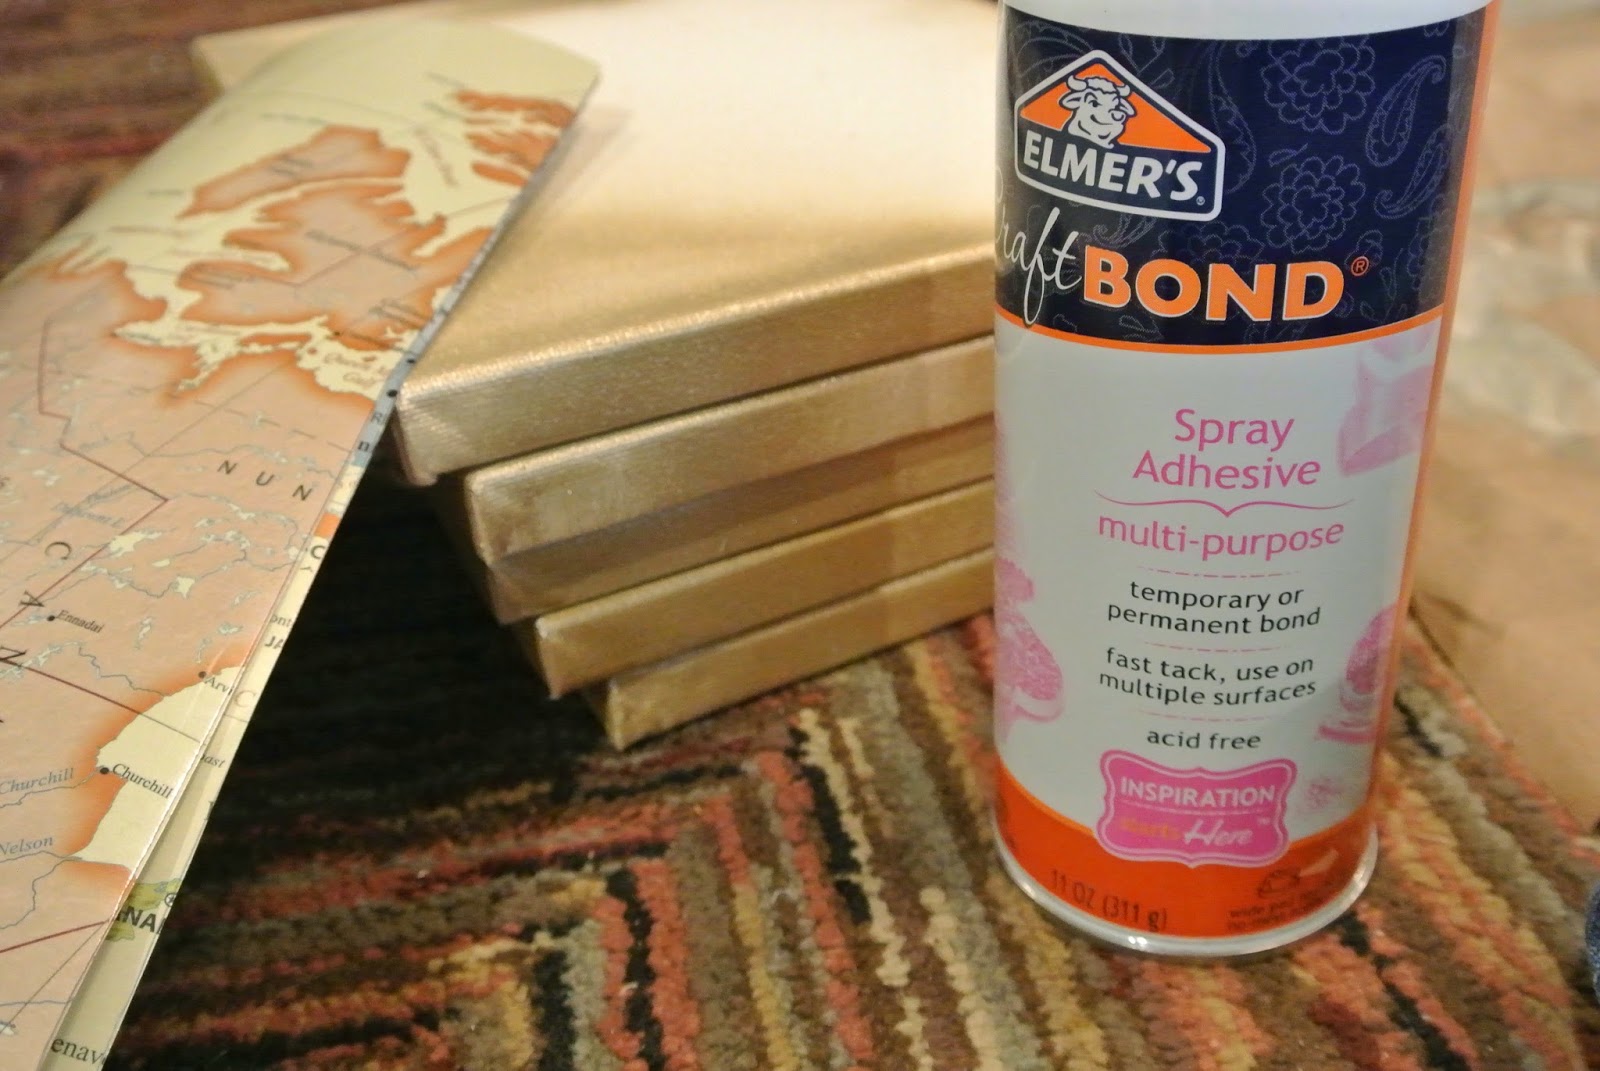
glue I used Elmer's Spray Adhesive, around $5.00 at WalMart. Any kind of glue would work though.
Mod Podge WalMart. No idea how much it cost. I used the matte finish, because I prefer everything to be matte.
spray paint $5.00 at WalMart? Less if you don't get a metallic.
scissors and a pencil or pen You really should have these somewhere in your house.
step 1
I laid the map down and placed the canvases on top in the pattern I liked, which also happened to be the same as the instructions I was going by because I didn't feel like being a free thinker that day.
 |
I traced around the canvases, and then took them outside and spray painted the edges. This is an optional step, but I felt like it would help the map look more like it actually belonged on the canvas.

step 3
While the canvases dried, I went back inside and cut out my map pieces. If you try this project, I suggest tracing your canvases in red ink or a color that will stand out. I used black and I couldn't tell if I was cutting along the right line. It was while cutting out these map pieces that I remembered why I don't like doing things myself. (If you were curious about the exact time that happened, because it was inevitable that it was coming. ;))

step 4
I sprayed the glue on the canvases, and then added the map pieces.

I let them sit for an hour upside down so that they would stick better. Side note - they still didn't stick all that well, but it's good enough and since I'm missing Hawaii anyway I'm not going to fix it yet. I'll eventually tear this map off and replace it with the correct size. Maybe.

step 5
I trimmed the edges of the map that were bigger than the canvas because I couldn't follow my own lines. Then I brushed Mod Podge over the top. I think I was supposed to let it dry and put on a second coat, but I just did one because it was kind of bubbling up where the map wasn't sticking to the canvas and I didn't feel like it.


The mod podge is a little streaky, but the great thing about DIY's is that you get to decide what it is. This started out as a cool piece of art and now it's a faux vintage rustic canvas map.
DONE!
 |
| my map with my mom's foot :) |
I'm excited to hang this on the wall! I've got a few more DIY's to do and I'm hoping to share all of them and then the finished product!
And now it's nearly midnight and I have a lot to do tomorrow. Working this blog into my schedule is a little harder than I thought, but I always enjoy taking the time to share pieces of my life. I hope that even though this was a pretty rushed post it was still helpful and/or made sense!
I hope everyone has a wonderful and relaxing Thanksgiving - I know I'm planning on it! See you soon...
I want one!!! Where is this going??
ReplyDeleteYou should make one! ;) It's going on the wall beside my bed where the quote is now. :)
Delete