Showing posts with label DIY. Show all posts

December 15, 2014

DIY Christmas | brunch + 2 recipes

Welcome to DIY Christmas, Sincerely, Kelley style! (where "this is how I did it" would be more accurate!)

It's been busy, busy around here! So busy in fact, that this brunch almost didn't happen. But when my nurse friend is off work and my Kentucky friend is in town on the same day some getting together must happen, whether it's in the middle of Missions Conference or not! :)


We planned a brunch at my house for 9:00am, perfect time to sleep in a little extra, but still get home with plenty of time to spare. Here's what we had!

Pumpkin cream cheese muffins, eggs, sausage balls, and apple pie apples. And of course, plenty of hot tea and coffee!

Writing this post is making me hungry!

Now, for the recipes...


My cousin made these for Thanksgiving, and our entire family absolutely loved them! I've made them twice since then, and I'm going out today to buy the stuff to make them again! They're super easy, and once you slice them up, they won't last long!

You will need...
Granny Smith Apples
Caramel Apple Wrap (cheat and use these instead of dipping, it's so much easier!)
Vanilla or White Chocolate Almond Bark
Cinnamon Sugar

• Wrap your apples with the caramel and put them in the oven on 200 for 5 minutes.
• Let them cool while you melt the almond bark
• Once they've cooled off, dip them in the almond bark and immediately sprinkle cinnamon sugar on them.
• Let them harden, then slice and serve! SO YUMMY!


I got this one straight from Pinterest, and I'm just going to copy and paste the recipe, because I just exactly follow it when I make these!

Ingredients

For the filling:
8 oz. cream cheese, softened
1 cup confectioners’ sugar

For the muffins:
3 cups all-purpose flour
1 tsp. ground cinnamon
1 tsp. ground nutmeg
1 tsp. ground cloves
1 tbsp. plus 1 tsp. pumpkin pie spice
1 tsp. salt
1 tsp. baking soda
4 large eggs
2 cups sugar
2 cups pumpkin puree
1¼ cups vegetable oil

For the topping:
½ cup sugar
5 tbsp. flour
1½ tsp. ground cinnamon
4 tbsp. cold unsalted butter, cut into pieces

Directions

  • To prepare the filling, combine the cream cheese and confectioners’ sugar in a medium bowl and mix well until blended and smooth. Transfer the mixture to a piece of plastic wrap and shape into a log about 1½-inches in diameter. Smooth the plastic wrap tightly around the log, and reinforce with a piece of foil. Transfer to the freezer and chill until at least slightly firm, at least 2 hours.
  • To make the muffins, preheat the oven to 350˚ F. Line muffin pans with paper liners. In a medium bowl, combine the flour, cinnamon, nutmeg, cloves, pumpkin pie spice, salt and baking soda; whisk to blend. In the bowl of an electric mixer combine the eggs, sugar, pumpkin puree and oil. Mix on medium-low speed until blended. With the mixer on low speed, add in the dry ingredients, mixing just until incorporated.
  • To make the topping, combine the sugar, flour and cinnamon in a small bowl; whisk to blend. Add in the butter pieces and cut into the dry ingredients with a pastry blender or two forks until the mixture is coarse and crumbly. Transfer to the refrigerator until ready to use.
  • To assemble the muffins, fill each muffin well with a small amount of batter, just enough to cover the bottom of the liner (1-2 tablespoons). Slice the log of cream cheese filling into 24 equal pieces. Place a slice of the cream cheese mixture into each muffin well. Divide the remaining batter among the muffin cups, placing on top of the cream cheese to cover completely. Sprinkle a small amount of the topping mixture over each of the muffin wells.
  • Bake for 20-25 minutes. Transfer to a wire rack and let cool completely before serving. (It may be hard to resist immediate consumption, but the cream cheese filling gets very hot!)


 I hope you try these recipes out, and let me know if you do! They have become favorites at my house!

I hope everyone is having a very merry holiday season!


November 25, 2014

DIY room decor | canvas map

What?! I'm doing a DIY? Yes! It was annoying but I persevered! ;)

I found this idea on Pinterest one day, and here I am, some time later, finally getting around to it!

SUPPLIES: (for this particular sized project) 
31" by 50" lamented map (mine was much bigger and now I'm missing Hawaii and part of New Zealand. Probably something else, too.) I got mine for $10.00 at Hobby Lobby.
canvases - ten 8x10's and two 16x20's I got mine for $40.00 total off of Amazon.
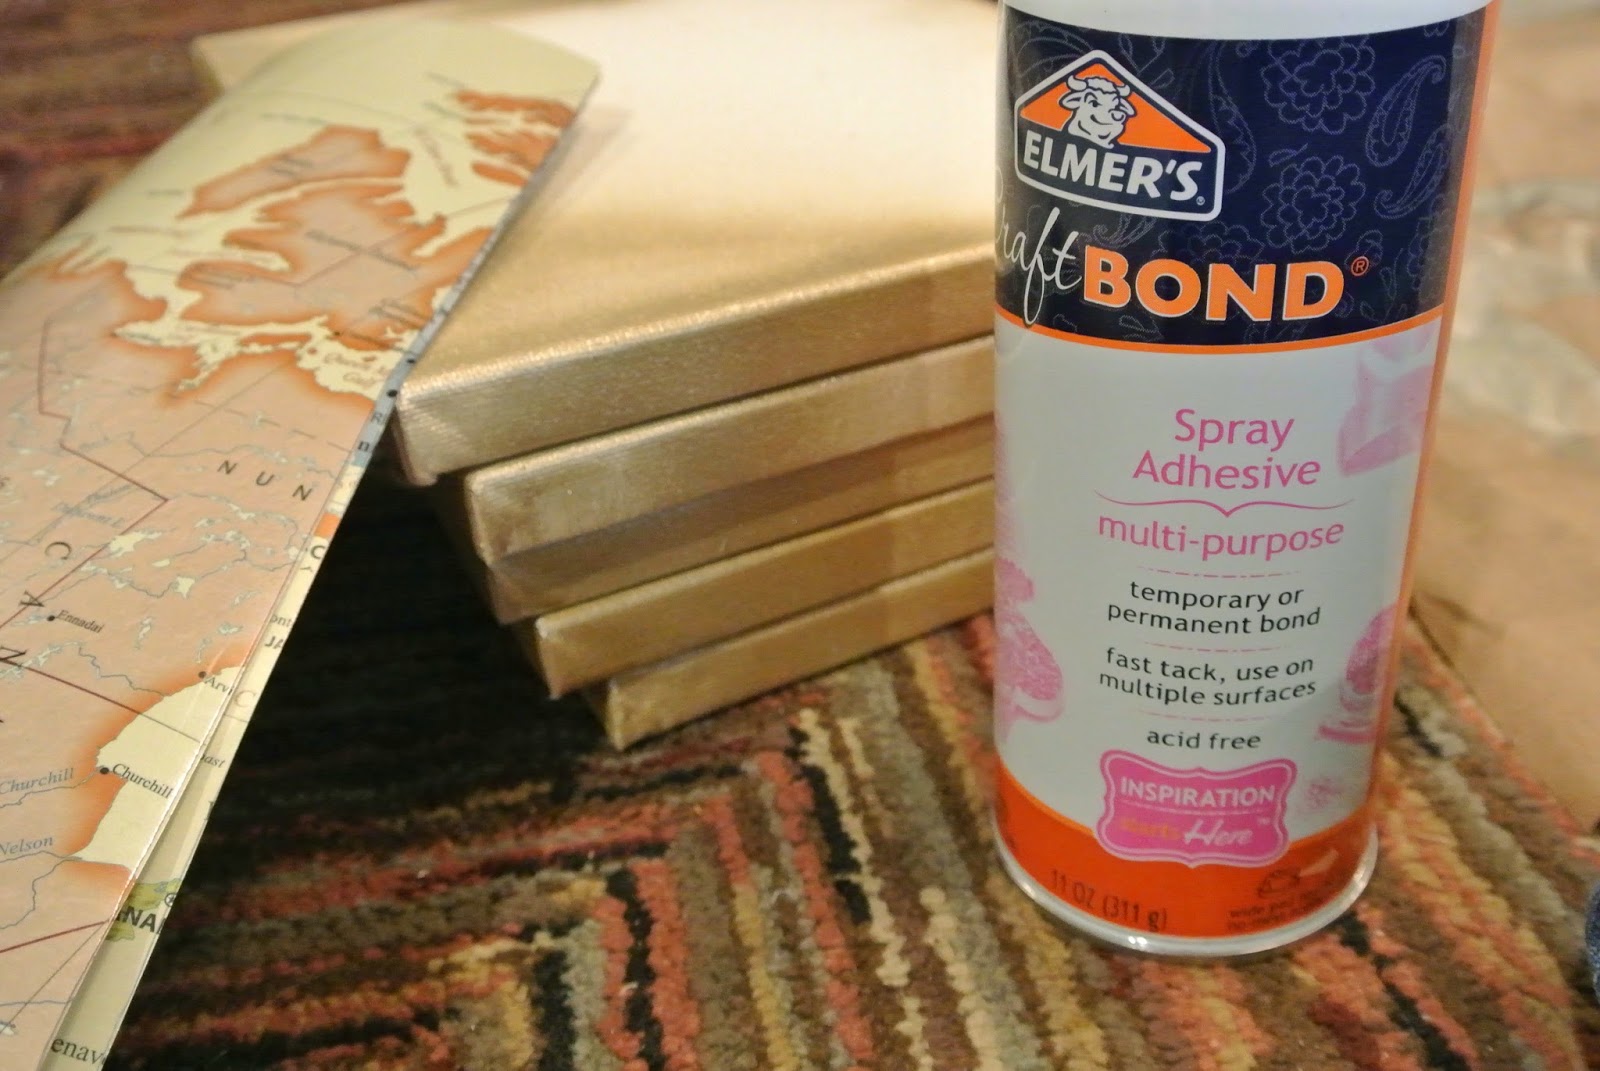
glue I used Elmer's Spray Adhesive, around $5.00 at WalMart. Any kind of glue would work though.
Mod Podge WalMart. No idea how much it cost. I used the matte finish, because I prefer everything to be matte.
spray paint $5.00 at WalMart? Less if you don't get a metallic.
scissors and a pencil or pen You really should have these somewhere in your house. 

step 1
I laid the map down and placed the canvases on top in the pattern I liked, which also happened to be the same as the instructions I was going by because I didn't feel like being a free thinker that day.


step 2
I traced around the canvases, and then took them outside and spray painted the edges. This is an optional step, but I felt like it would help the map look more like it actually belonged on the canvas.


step 3
While the canvases dried, I went back inside and cut out my map pieces. If you try this project, I suggest tracing your canvases in red ink or a color that will stand out. I used black and I couldn't tell if I was cutting along the right line. It was while cutting out these map pieces that I remembered why I don't like doing things myself. (If you were curious about the exact time that happened, because it was inevitable that it was coming. ;))

 This is officially taking me way too long. (We're about 30 minutes in by now.) 

step 4
I sprayed the glue on the canvases, and then added the map pieces.  


I let them sit for an hour upside down so that they would stick better. Side note - they still didn't stick all that well, but it's good enough and since I'm missing Hawaii anyway I'm not going to fix it yet. I'll eventually tear this map off and replace it with the correct size. Maybe.


step 5
I trimmed the edges of the map that were bigger than the canvas because I couldn't follow my own lines. Then I brushed Mod Podge over the top. I think I was supposed to let it dry and put on a second coat, but I just did one because it was kind of bubbling up where the map wasn't sticking to the canvas and I didn't feel like it.


The mod podge is a little streaky, but the great thing about DIY's is that you get to decide what it is. This started out as a cool piece of art and now it's a faux vintage rustic canvas map.

DONE!
my map with my mom's foot :)
I'm excited to hang this on the wall! I've got a few more DIY's to do and I'm hoping to share all of them and then the finished product!

And now it's nearly midnight and I have a lot to do tomorrow. Working this blog into my schedule is a little harder than I thought, but I always enjoy taking the time to share pieces of my life. I hope that even though this was a pretty rushed post it was still helpful and/or made sense! 

I hope everyone has a wonderful and relaxing Thanksgiving - I know I'm planning on it! See you soon...


August 13, 2013

Chocolate Dreams

This recipe is for a single serving of the milkshake called Chocolate Dream.

3-4 scoops of vanilla ice cream


chocolate syrup
(how much you add of this depends on how chocolaty you like it - I use quite a bit)

1 small handful of mini marshmallows 
(or large ones torn into smaller chunks)

1/4 teaspoon almond extract 
(This is optional, but I think it makes the shake. Put in no more the 1/4 tsp. though.)

milk 
(I don't measure this part, but it's usually halfway up the ice cream)

blend
(I use a Magic Bullet)

ice
(This is for when you add too much milk and it's runny. Just add a 2-3 pieces and blend again.)

 Chocolate Dream
my favorite milkshake

Let me know if you try it and what you think!

July 23, 2013

Raspberry Pretzel Salad

Yum, yum, yum, YUM! I LOVE this dessert! I've had strawberry pretzel salad several times, but when I saw this recipe for a raspberry version I knew I had to try it. I love raspberries and this was seriously so good.


Gather Ingredients:
bottom:
2 cups crushed pretzels
1 stick of butter, melted
1/4 cup sugar (I forgot to add this, and it still tastes amazing. Less sugar, right?! ;))


middle:
1 (8oz) package cream cheese – softened
1 (8oz) package Cool Whip – thawed
1 cup sugar

top:
6 oz package raspberry Jell-O
2 cups boiling water
1 bag frozen raspberries – thawed in refrigerator (I just used fresh raspberries. It was more expensive, but I couldn't find any frozen ones.)


Commence Cooking:
While my water boiled, I crushed the pretzels, added them to the melted butter, then spread them on the bottom of my dish.


 I added the Jell-O to the boiling water and set it aside to cool.


I then beat together the cream cheese and 1 cup of sugar.


Then I stirred in the cool whip until in was semi-well combined. (It was supposed to be well combined, but I got bored and decided it was good enough.)


Then I globbed it on the cooled pretzel crust. (I learned the word "globbed" from my grandma. :)) After that I spread it evenly on top of the pretzels. Make sure to glob it on there first, otherwise you get into a mess with your pretzels mixing with the cream cheese mixture.

THEN, I added the fresh raspberries. The recipe says to use whole berries, but our family isn't a big fan of fruit chunks in our desserts, so I smashed them up a little with my knife before I got smart and used the chopper. (Don't chop them too much, just enough to make them less chunky.)

Using the same technique as before, I globbed,  then spread those on top of the cream cheese mixture. (I used my finger - for my family members reading this, my fanger.)

At this point I'm thinking, "Oh, this is gonna be good."

By this time the Jello-O was cool, so I poured it on top of the whole shebang.

I put it in the refrigerator and cleaned up my mess.


Enjoy:
It took about 3.5 hours in the fridge for the Jell-O to set. Mama was shocked, because it takes her strawberry pretzel salad about two weeks to set. ;) I don't know if it was the type of Jell-O, or if I just let it cool longer. Either way, about 3 hours later and I got to cut into it and eat it.


I've converted. Though both are delicious and I'll never turn either one down, I now like raspberry pretzel salad more than strawberry.

Please let me know if you try it and what you think!! :)


July 6, 2013

Summer Saturday: Homemade Doughnuts

How do you spell that anyway? Donut? Doughnut? Donut / Doughnut 

Confession is good for the soul: These were a little hard to make, and weren't as yummy as I thought they would be. They were good, just not "Oh, wow! These are going on the make-once-a-month-list!" good. I got the recipe from Pinterest.

EASY: 
Making the dough. It required very few ingredients, not too much of anything.
HARD:
Peeling and dicing the apples. It took me twelve years to do two apples!

I'm not actually this tall, Amie snapped that picture at just the right moment - right as I opened the cabinet doors and went up on my toes. I think it makes me look kind of queenly.

BORING:
Letting it rise. Covered, 2 hours in a room temperature place (which was our microwave with the door ajar so the light stayed on and kept it warm.) THEN, transfer to the refrigerator for 4 hours. Come again? That's 5 hours for doughnuts!

MADDENING (meaning that whilst doing this I got mad):
Making the dough into doughnut shapes. Grrrrrrrrr. Ok, so I'm one of those people that follows a (new) recipe exactly to the tee. Lightly packed brown sugar? Softly tap fingers on measuring cup of brown sugar. Pipe dough into three inch circles? Why of course. NOT! This did not work, let me tell you. So in a panic, I begged my mom for help and she told me to flour it and roll them out. We had no idea what else to do, it was really difficult! Therefore instead of 18 doughnuts, I had 15 weirdly shaped balls of dough. (I'm so not a chef.)


Christine said, "I just make them round and cut out the middle." *blink* That would have worked great. Next time I'll do that! (Probably not going to be a next time... ;))

Oh boy, those are beautiful!! haha

MESSY:
Dipping them in the powdered sugar/milk glaze. I just made the glaze, dunked the tops of the doughnuts,  put them back on the cooling rack and watched it all drip down on the counter.

COOL:
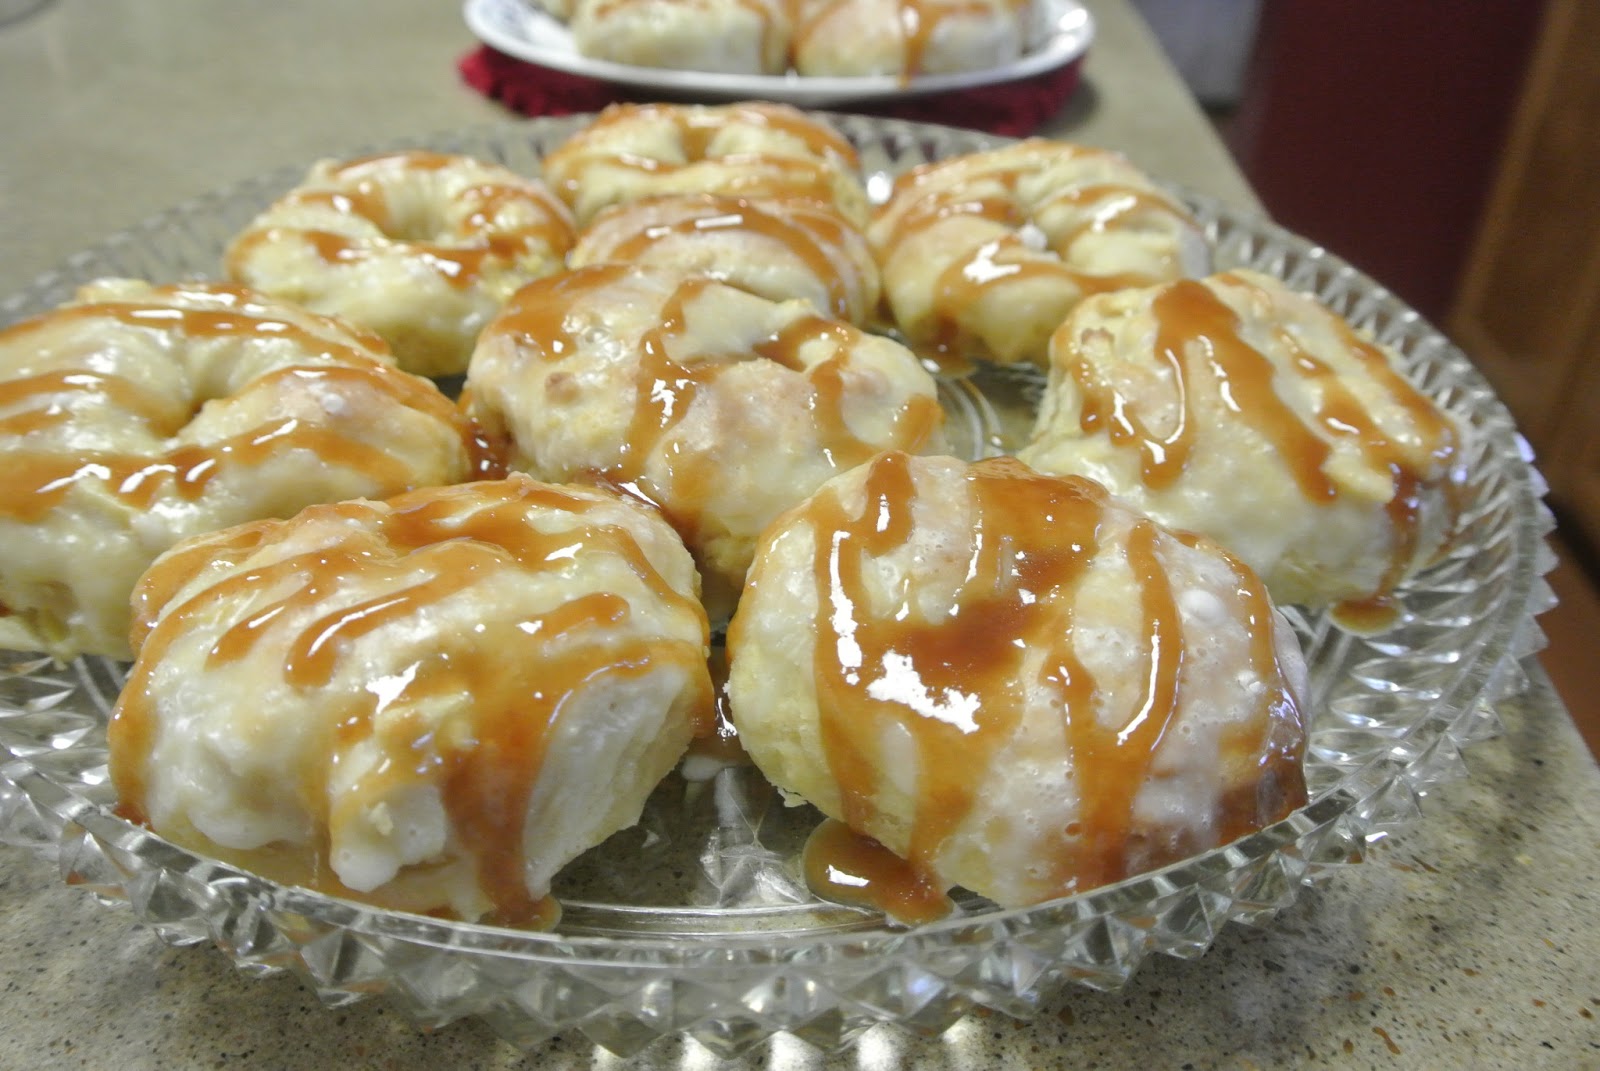
Making the caramel glaze. I'll do this part again!! It's just sugar and water, then it boils for awhile and you watch it change colors. Then you add heavy cream and butter and it's like a volcano effect! So cool! Plus it made the doughnuts extra pretty.


FUN:
Now, what do you think the fun part was? ;)


Next time I want doughnuts I'll just tear up some canned biscuits and toss them in some oil, fry them and dip them in the glaze. But now I can say I've made doughnuts from scratch, and they weren't half bad! :) (Plus I also learned how to make caramel glaze from scratch: +1 for me!)

Overall it probably took me about 7 hours working on and off. (That's including rising time and clean up.) Mama just made some ice cream downstairs for us to eat tomorrow. It probably took her about 5 minutes, I'm not even going to ask. ;)

One of these days! :)

Summer Bucket List: finish five books by only reading them outside; make homemade donuts; eat fruit every day; start running (again-ish); catch a jar full of lightening bugs with Jace and Jackson; have friends over for a cookout and games; buy a bike; go camping; buy colorful tennis shoes; journal every night; blog once a week; complete a DIY; play whiffle ball and win; take the boys to the park; go on a picnic at Defeated; go to the zoo;  either go to the Hermitage again (ride a carriage this time), or go to Belmont Mansion or Bel Meade Plantation; decorate my corner of the office; get some hydrangeas; help clean up the pool area; make a dress with my mom


June 29, 2013

Summer Saturday: DIY completed

I crossed off my first bucket list item today!

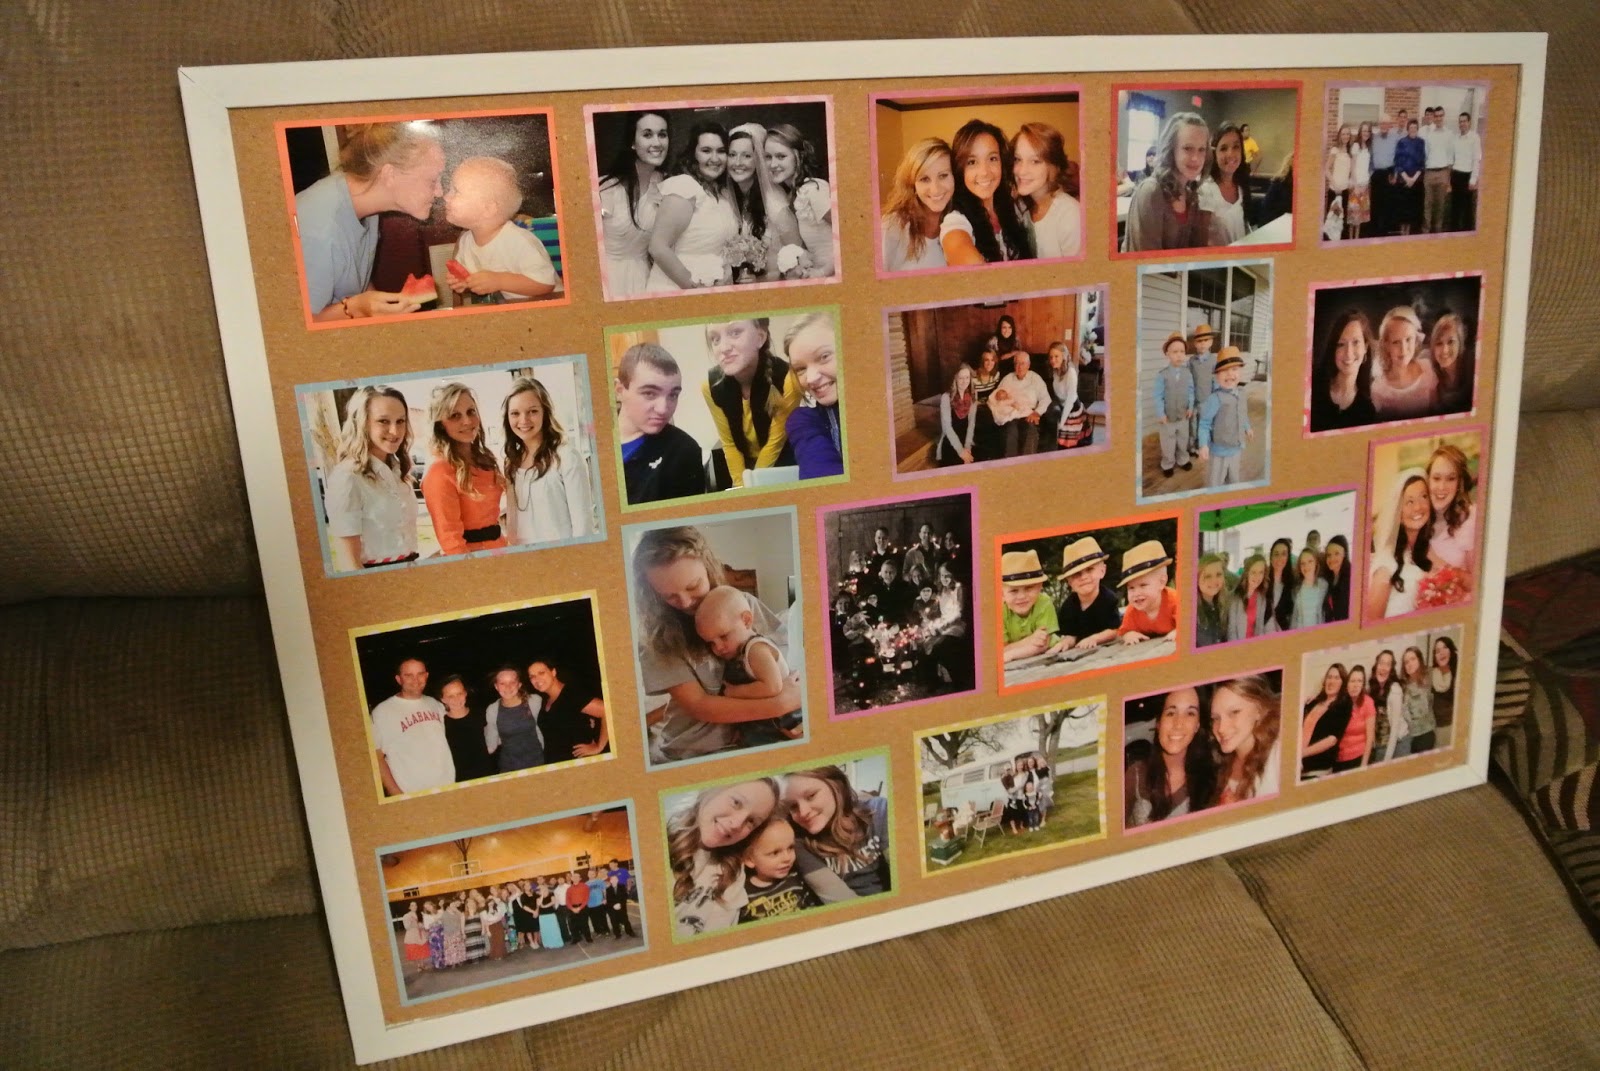
I made a bulletin board collage for my little corner of the office at church. I'm not a DIY person - they take time and I don't have the patience for them. But this was very simple, and I'm not even sure if it counts as an official DIY project, but I'm counting it because it's going to help me knock off another item on my list, and I can't think of another DIY I have the desire to do.

We already had the bulletin board in my brothers old room, so when I saw my mom refinishing/painting our coffee table, I brought it outside and started in. Very spontaneous of me. ;)


It needed two coats, I was running out of paint, and it was so hot outside that it was drying too fast, becoming tacky, and rolling off the frame. My brush was really bad, so I eventually switched to one of those little sponge things and it worked much better. By this point though, I was already frustrated, so I finished it pretty quickly, cleaned up my mess and threw all of my "tools" away, and left it outside for the next few hours while I cleaned my bathroom. (This is why I don't usually choose DIY projects. ;) )


There will be no close up photos of my paint job!! :)

After dark, around 9:30, I got my pictures out and started putting them on some colorful and patterned construction paper. After this, there is no explaining to do. Just glue, trim, glue, trim.


The photo credit goes to my little sister Amie. She got my face in one of them, but I look 12 years old in it, so I won't be showing that one.

After that step, which took me longer than it would have any other human being on the planet, I sort of arranged them on the board. By "sort of arranged" I mean I just moved them around until they all fit. I didn't have room for one of me and my cousin, which made me a little sad, but I'll just swap it for one of the others in a few weeks. (Oh, by the way, I took out all the old thumb tacks with a butter knife because I couldn't find a flat head screw driver. That was the part that made me feel the most crafty.)


And then I smashed it with mah hammah!! No I didn't, I just stapled them on. I just wanted to say that.


There were about 15 dozen pictures of my hands stapling the pictures down because Amie said she couldn't find the right angle. You can tell this is a stapler and this is me stapling pictures, right? ;)

The finished product!! I love it. I'm still not crazy about doing DIY projects, so I don't want to do another one any time soon, but I like it. It will be on my wall hopefully Monday morning!! (When I finish decorating my corner, pictures will be shared.)

This was one of my least favorite tasks on my bucket list, but I really did enjoy doing it. Much more than I thought I would - especially while painting that frame! But now it's way past time for bed.

Good night to all, and I hope everyone has a beautiful Lord's day!

Summer Bucket List: finish five books by only reading them outside; make homemade donuts; eat fruit every day; start running (again-ish); catch a jar full of lightening bugs with Jace and Jackson; have friends over for a cookout and games; buy a bike; go camping; buy colorful tennis shoes; journal every night; blog once a week; complete a DIY; play whiffle ball and win; take the boys to the park; go on a picnic at Defeated; go to the zoo;  either go to the Hermitage again (ride a carriage this time), or go to Belmont Mansion or Bel Meade Plantation; decorate my corner of the office; get some hydrangeas; help clean up the pool area; make a dress with my mom